How to Create a New Garden Bed
Preparing a new garden bed from scratch can be a daunting prospect. I’ve spent many hours doing this in my clients’ yards as well as in my own garden. Read on for how to create new garden spaces and several options for removing existing lawn.
Making New Bed Edges
Start by creating the outlines for your new bed area. Visualize the shape you want for your new garden. Big curves are the name of the game here! Walk around your yard and look at it from many angles, imagining where you’d like a bed to start or end.
One option is to take a long garden hose and arrange it in the shape of a potential new bed line. Move the hose around and make little adjustments to your curve until you’re happy with the shape. This works well for adding onto existing beds, as well.

A new bed line drawn in the lawn with spray paint
Another option, which works particularly well if you’re working from a design, is to go out to your yard with a tape measure and a can of white spray paint. Start by marking out, with spray paint dots, the key places on each new bed line (for example, the top or bottom of an arc or an end point of a line). Spray more small marks, measuring as you go, and then finish by connecting the dots. Step back to view your line from different angles and make any adjustments until you have a visually pleasing, organic-looking curving shape that approximates that on the designs.
Make sure to mark the spaces where your walkways or paths will go through beds.
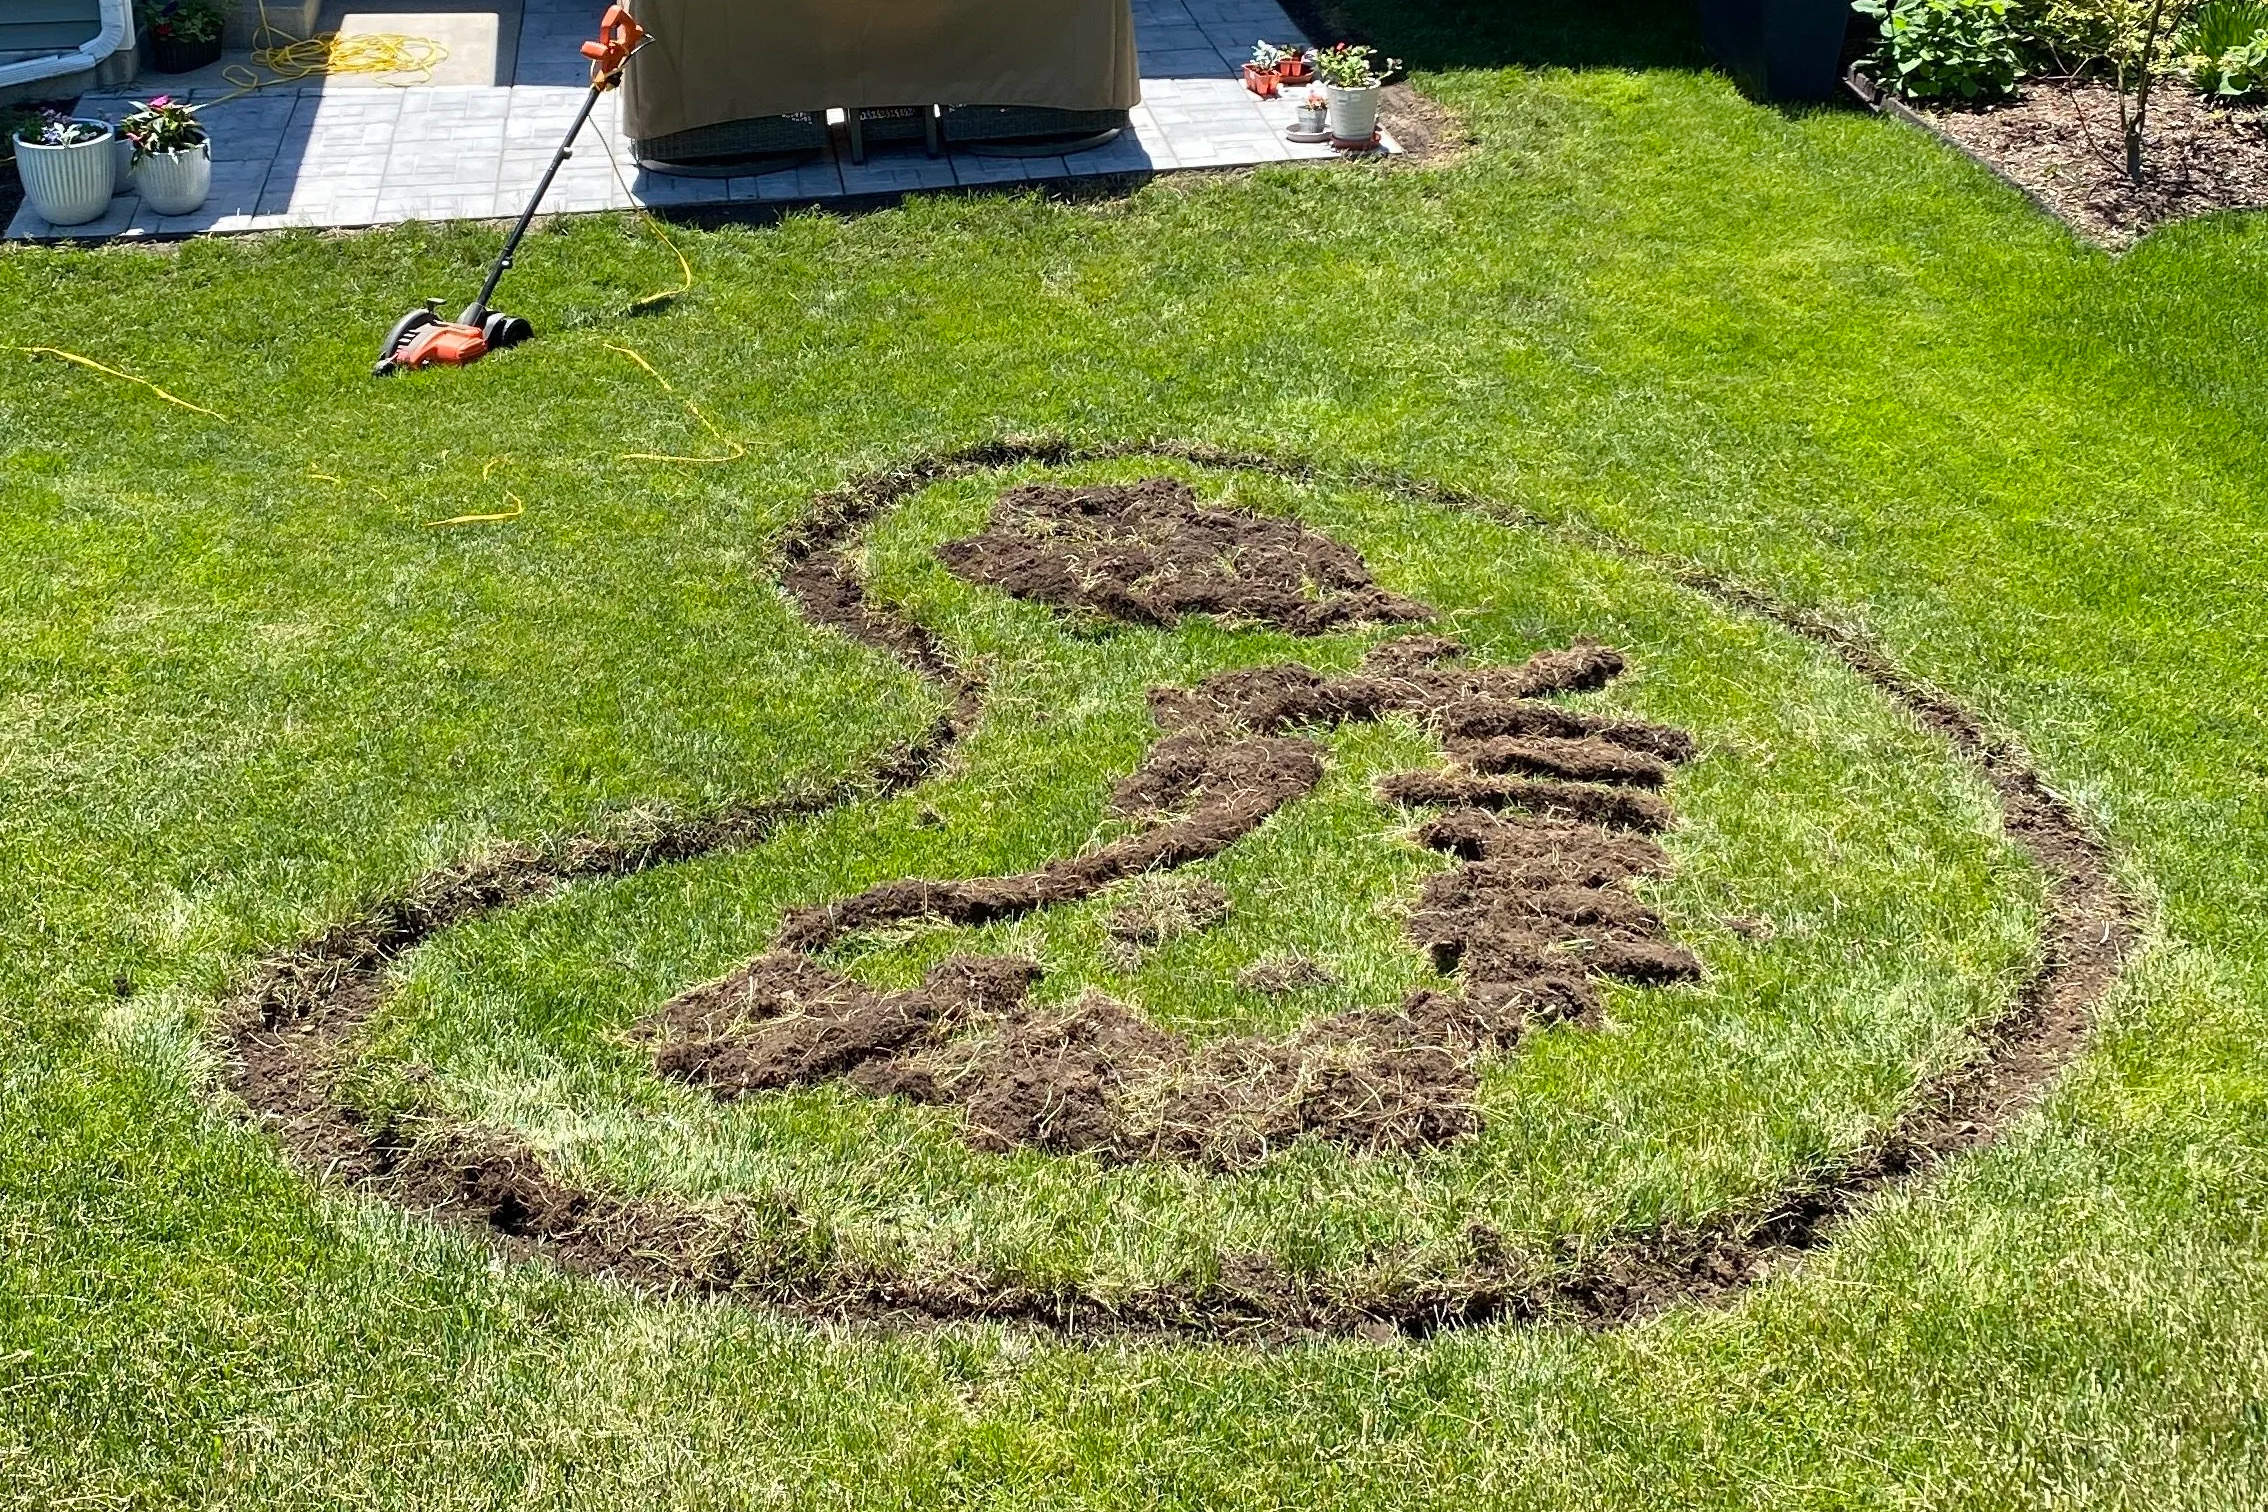
A new bed line created by a small trench
Next, set those lines more three-dimensionally by creating a small trench all along your new bed edge. This can be done with a human-powered edging shovel (a shovel with a flat, rectangular head like this one) or with an electric edger-trencher. If using an electric edger-trencher, set it to the deeper “trenching” setting and take it along your spray painted line. Then, make another line next to it (on the inside side) 3-4 inches away. Peel or dig away the sod between these new lines (a soil knife or Cobrahead weeder can be helpful for this task). Now you’ve got a nice clean bed line!
If you’re doing this in a particularly dry period, I recommend watering the area well a day before you plan to attack those trenches as it will be much easier if the ground isn’t bone dry.
Clearing the Space
Once you’ve created your bed edges, you can move on to dealing with the existing plant material inside the new bed, be it grass, weeds, or some combination of the two. There are essentially four options when it comes to killing existing grass and weeds to prepare to establish new beds. You may choose to use the same one for all of your new beds or different ones at different times depending on the amount of time you have and the physical labor you’re able to take on in that phase.
No method is easy or without drawbacks, so I recommend weighing the pros and cons and deciding which to use where depending on your preferences.
Sheet Mulching
Sheet mulching is the first method I recommend because it has the benefit of helping add organic material to your soil in addition to killing the grass and weeds in places where you don’t want them.
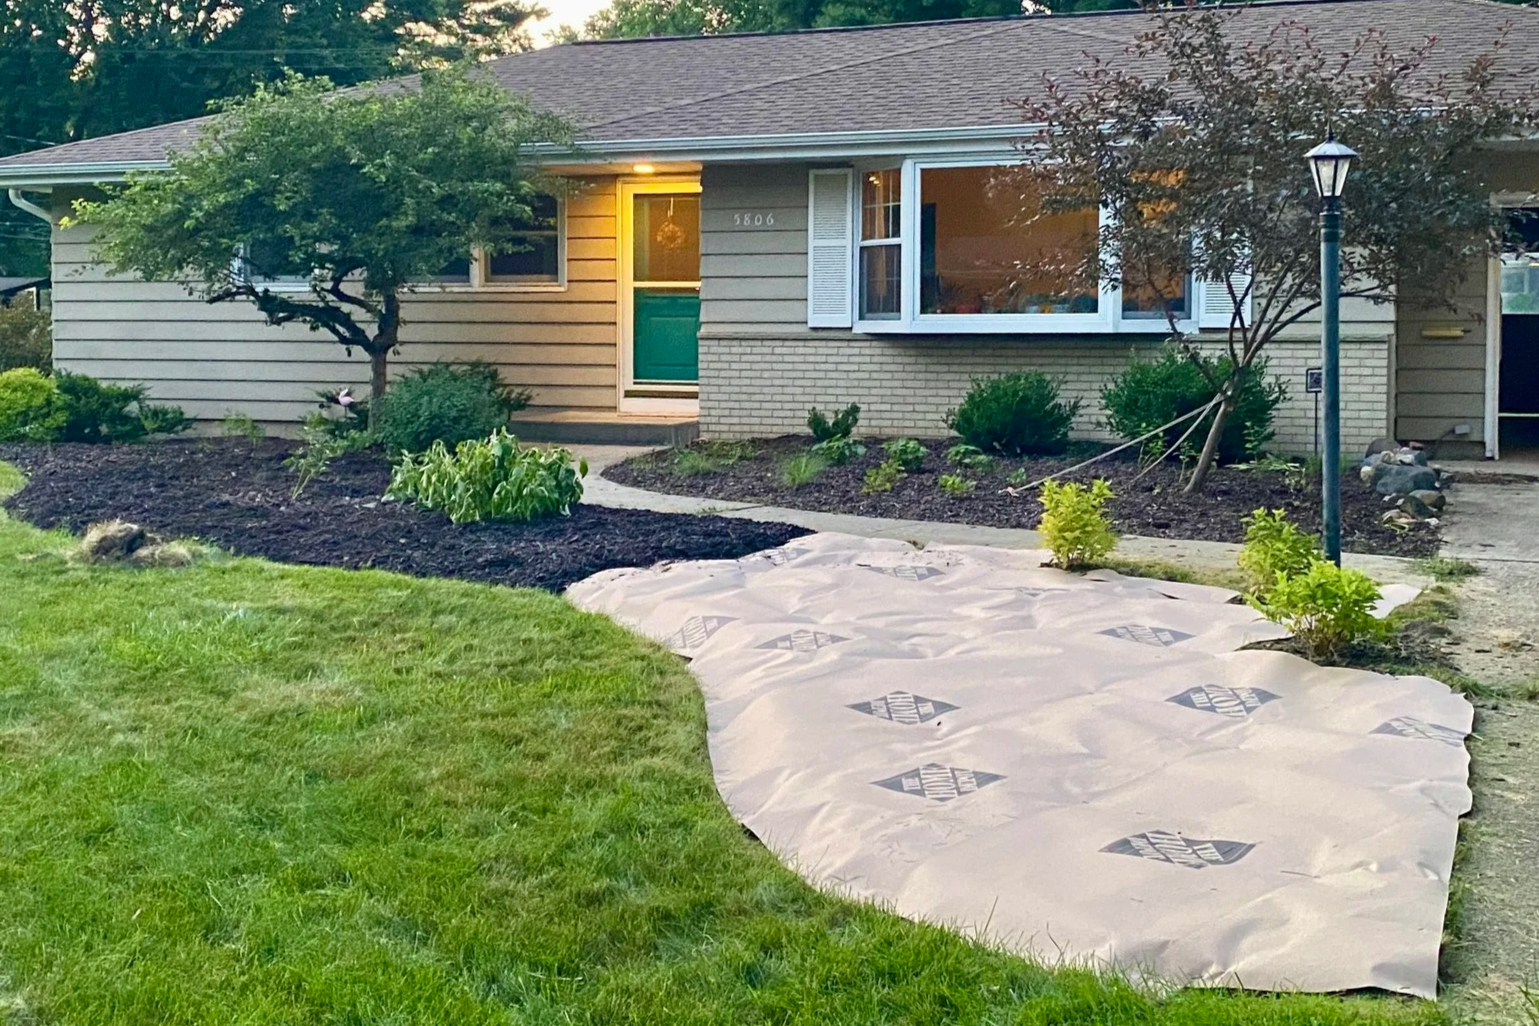
Sheet mulching in progress for a new entry garden
For this method, you’ll need lots of cardboard, or rolls of heavy duty builders paper, some topsoil or compost, and mulch, as well as a sturdy wheelbarrow and a big scoop-style shovel. You can buy rolls of cardboard or heavy-duty paper (make sure it’s thick and not easily torn) or you can source big boxes from furniture and appliance stores. You can use your designs to find the surface area and calculate the amount of mulch and topsoil to order. You’ll want enough to cover the new bed area with three to four inches of each of topsoil and mulch. I recommend ordering either straight topsoil or a 50/50 mix of topsoil and compost. Many local arborist companies will deliver mulch for reasonable prices.
Create your new bed lines as described above
Cut existing plant material (weeds and/or grass) as short as you can. A string trimmer can get it shorter than a lawn mower, but a lawn mower on the shortest setting will do.
Arrange your heavy-duty paper and/or pieces of cardboard (remove any staples or tape from cardboard boxes) so that it completely covers the new bed area. Overlap pieces of cardboard to ensure no light can get through.
Cover the cardboard in a three to four-inch layer of topsoil or topsoil and compost.
Cover the topsoil/compost in a three to four-inch layer of mulch.
Water the entire area
Wait at least six weeks or over winter
Plant new shrubs and perennials directly into the sheet mulched layers. You likely will not need to add more mulch afterward, except for any areas that need touch ups.
The drawbacks to this method are the time commitment and limitations of how large of a space you can reasonably sheet mulch at one time. If, for example, you have a 1000 square foot area, you would need at least nine cubic yards each of mulch and topsoil/compost. That’s a lot of trips with the wheelbarrow! Granted, other options also require mulching so you may want to make the decision based on when you want to spend that time mulching: at the beginning or end of each bed preparation.
Smothering
This method is exactly what it sounds like: killing the existing plant material by depriving it of light and air. The smothering method is less time-consuming to set up than sheet mulching and requires fewer materials. It takes about the same amount of time to work (at least six weeks to a few months depending on the time of year and stubbornness of weeds).

Using a tarp to smother a weedy area. Not the prettiest method!
For this method, you’ll need enough heavy-duty tarps to cover the new bed area and stakes, rocks, or other heavy objects to hold them in place. Tarps should be in good condition with no holes or tears as any light that gets through can thwart your smothering process.
Create your new bed lines as described above
Cut existing plant material as short as possible
Arrange tarps to cover the entire area, overlapping them so that no light can get through.
Arrange stakes or heavy objects on the tarps’ edges to keep them in place
Wait at least six weeks or up to several months
Remove tarps when you’re ready to plant
Optional: add compost to amend soil
Plant new shrubs and perennials
Spread new bed with a three to four-inch layer of mulch
One drawback of this method is that while smothering the plant material you want to kill, it also deprives the soil of oxygen, water, and light, which can damage the structure of the soil and drive away beneficial organisms living in it. The other drawback is that it doesn’t look very nice while it’s in process, but that bothers some people more than others!
Manual Removal
This method is more labor intensive but can prepare an area for planting more quickly than the first two as there’s no waiting period. I recommend this method for removing relatively small areas of grass, such as in places where you’re widening or extending existing beds.
For this method, you’ll need a grub hoe and good core strength! Be sure to get a very strong, sturdy one like this one. Essentially, you swing the hoe up and drive the sharp edge into the grass and pull it towards you. Here’s a video about using a grub hoe.

Manual removal with a grubbing hoe
Create your new bed lines as described above
Remove the grass in small sections using the grub hoe as shown in the video
Optional: add compost to amend the soil
Plant new shrubs and perennials
Spread new bed with a three to four-inch layer of mulch
The drawback of this method is that it’s not practical for large areas as it’s VERY labor intensive. It also removes the top layer of topsoil, the layer that the grasses’ roots sit in, which contains a lot of nutrients and microorganisms. Finally, you have to dispose of the removed sod which gets heavy very quickly! The city likely won’t pick it up from your curb like other yard waste so you have to take it to the drop-off facility or hire someone to haul it away.
Herbicide
Normally, I’m not a proponent of using herbicides indiscriminately. I completely approve of their use for getting rid of noxious invasive plants, but in a targeted way that minimizes runoff and effects on wildlife. However, I also think there is a case to be made for using herbicide to kill large areas of grass and/or weeds to establish new garden beds, especially when those new garden beds will include lots of wonderful native plants! In my opinion, when you’re dealing with changing over large areas of lawn, a one or two-time intensive application of herbicide in order to do so can be justified. You should do whatever you’re comfortable with.
If you want to pursue this method, you’ll need a full-spectrum herbicide, specifically one that’s 41% glyphosate. Many herbicides are made for lawns to kill only broad-leafed weeds and leave grasses unharmed so choose carefully to ensure you’re getting the right kind. You’ll also need PPE so that it doesn’t get on your skin or in your eyes or respiratory system. Whichever one you choose, be sure to read the instructions carefully for safety.
You’ll need to apply the herbicide on a day with no wind and most products are effective within a particular temperature window. It may take a few weeks and more than one application to fully kill the grass.
Create your new bed lines as described above
Cut the grass as short as possible
Put on PPE and mix your intended herbicide
Set up barriers at the edges of your new bed to avoid spraying unintended plants (cardboard or tarps could work for this)
Spray herbicide
Wait two weeks to see full results, then make a second application if needed
Plant new shrubs and perennials
Spread new bed with a three to four-inch layer of mulch
I list this method last because it’s my least favorite, for obvious reasons, but I do think there are arguments to be made for it depending on the situation.
A note about Landscape fabric/weed barrier
Don’t use it in garden beds, is the short version.
The longer version is this: landscape fabric is advertised as an easy solution to preventing weeds in garden beds—you just cut holes where you want your desired plants to go and voila! Weed barrier! Unfortunately, it’s not the panacea it’s often purported to be. Landscape fabric and other weed barriers work at first to prevent weeds, but before long organic matter settles on top and weeds grow above the barrier (and often through it). Once that happens, you’re left with a layer of synthetic material in the garden bed that’s no longer doing any good.
Furthermore, weed barrier prevents natural exchange of air and water, creating an inhospitable environment for the organisms living in the soil, which are needed to make soil a healthy environment for plants. It also creates soil that is compacted, making it difficult for the roots of the plants to grow. In addition, it prevents amendments and organic material from getting into the soil below the barrier, so it’s nearly impossible to get nutrients to your plants. Over time, these products, which are generally made of various forms of plastic, break down into the soil, which you also don’t want.
Instead, choosing the right bed preparation method for the area and laying down a thick layer of mulch on top is a better way to prevent weeds. Refresh the mulch every year or so and, as the plants mature, they will begin to create their own layer of “green mulch” that prevents weeds from getting established.